> For the complete documentation index, see [llms.txt](https://portalgraphvr.gitbook.io/portalgraph-document-en/llms.txt). Markdown versions of documentation pages are available by appending `.md` to page URLs; this page is available as [Markdown](https://portalgraphvr.gitbook.io/portalgraph-document-en/how-to-use-portalgraph-app/vive-tracker-guide.md).
# VIVE Tracker Setup Guide
This guide explains how to configure head tracking using a VIVE Tracker.
## Portalgraph Settings
Launch an application built with Portalgraph and open the settings screen (by default, press F12), and select the **Tracker/Custom** tab. Check the "Auto-launch Tracker App" option, then select "OpenVR" from the dropdown below it. The VIVE Tracker tracking software will launch automatically the next time the application starts.
#### Initial Setup
When you launch the VIVE Tracker tracking software for the first time, a message will appear prompting you to modify the settings, as shown below. Since VIVE Trackers are configured by default to be used together with a VR headset, the settings need to be changed to allow use without a headset. Click "Fix," then follow the on-screen instructions to quit SteamVR and relaunch the VIVE Tracker tracking software (registered in the Start menu as "Tracker Portalgraph").
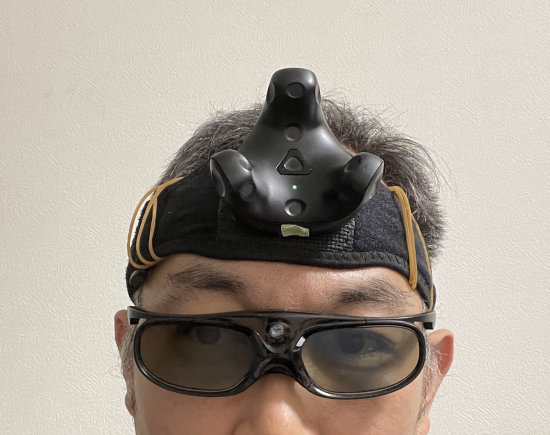
In the **Tracker Position** dropdown, select **Forehead** and click **Apply**. This sets up the tracker to be mounted on your forehead (choose the appropriate option based on your intended mounting position).
Click **Next**, then click **Tracker**.
In the **Tracker Settings** screen, enter the screen size in meters. Click **Calibrate**, then align the tracker to the center of the screen and wait for the countdown to complete. The calibration will be performed automatically.

.png?alt=media&token=c6b9f024-d410-4178-8357-1db0dfb55771)



.png?alt=media&token=20f38103-e360-45d6-bda1-5f2963bddc78)